Stitches Tutorial: How to Pop Your Seams and make a Four Patch Block

It was a lot trickier to take action pictures of myself then I thought it would be. I only have two hands but I easily could have used three or four :)
Popping your seams is really useful when you have lots of fabric coming together in one spot. It helps so the fabrics lay flatter which helps your patchwork be more accurate!
How to Pop your Seams
(and make a 6 1/2" Four-Patch Block)
Supplies needed:
assorted fabric scraps, at least (4) 3 1/2″ squares
iron
starch
ruler/cutting mat/rotary cutter
Step 1. Starch and press all your fabric.


Step 2: Cut each fabric scrap you will be using into a 3 1/2″ square. You need a total of (4) squares.

Step 3. Place (2) square right-sides together. Sew along the edge with a 1/4″ seam. Do not backstitch! Repeat with other (2) blocks.

You should end up with (2) sets of squares that should look like this:

Step 4. Choose which blocks you want on top and which you want on bottom. Press the top half so the seam goes to the right and the bottom half so the seam goes to the left. This is vitally important to getting your seams popped! After they are pressed each block should measure 6 1/2″ wide. If it is much smaller you should unpick your seams and try again, being more strict on your 1/4″ seam allowance.
Notice the top to the right, bottom to the left.

Step 5. Sandwich your top and bottom with right-sides together (double check your squares so you get the blocks placed where you want them!). You want to make sure your seams nestle right into each other. This will ensure that your seams match up on your finished block.

Step 6. Sew the center seam together, again with a 1/4″ seam (again - do not backstitch!) Make sure to sew the seams in the same direction you pressed them!
Your block should now look like this:

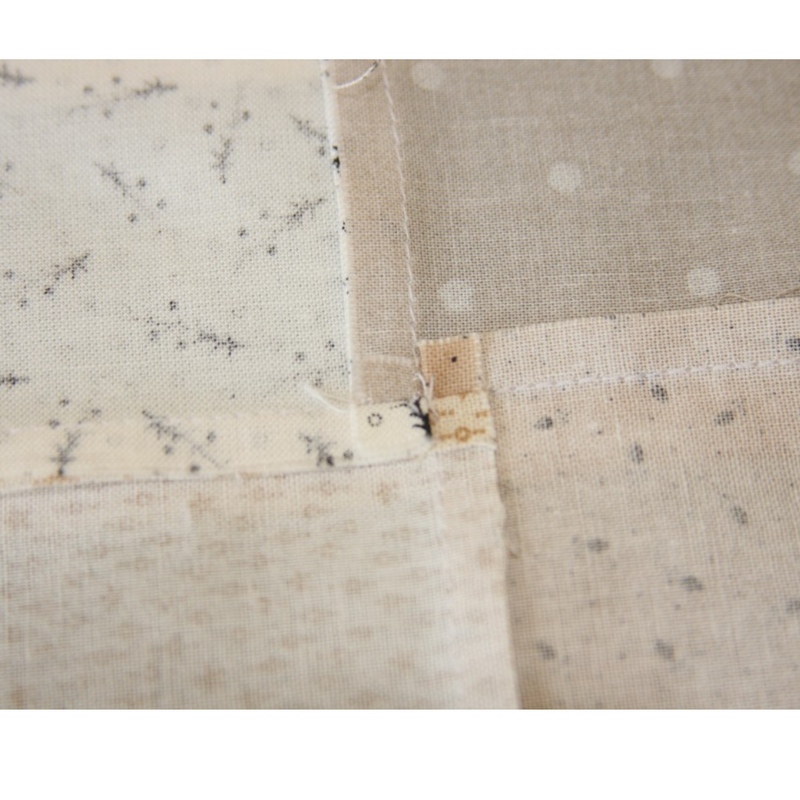
Step 7. Now comes the popping part! You want to loosen up the center seam by prying it open with your fingers. Twist each seam in separate ways with your fingers until the middle seam starts loosening in the center.


Keep twisting until the fabric can be opened up. You know you’ve got it if you can see little swatches of all (4) fabrics you used and your outer seams should go in the counter-clockwise direction (we will iron them in the next step to help them lie flatter).

Step 7. Iron your popped seam and all your outer seams so they lie flat in a counter-clockwise direction.
Now you have a finished Four-patch (which should measure 6 1/2″ square)

And voila! You did it! Welcome to the amazing world of popped seams!